Initial set up of my scene requires streets to be made. Blocking in the area with basic shapes which I can then edit to create the scene is how I started. Even detailing a little of the road, where it dips for a drain under the curb.
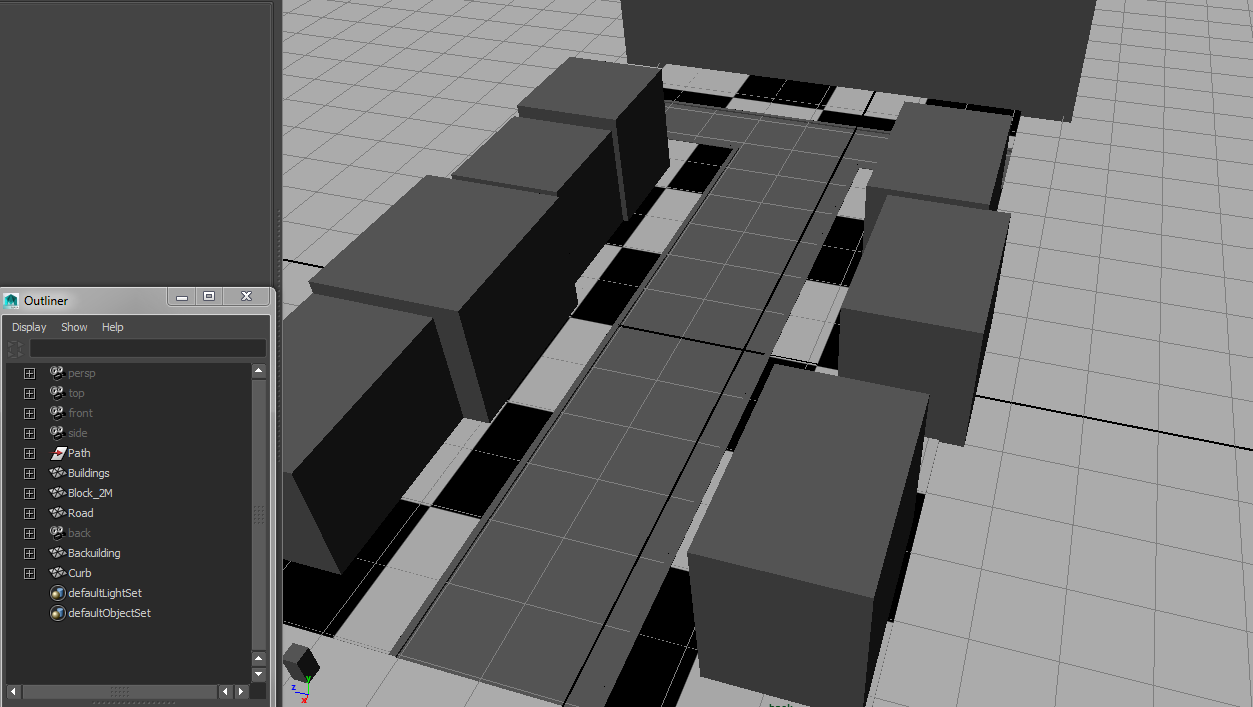

For damaging the buildings I will be making duplicates and using a Boolean function, so that one model will have a chunk missing, the other version will leave the chunk, which can then be used as ruin on the street.
Lesser damage can be gained from simply adding textures (cracks in brick faces and such)
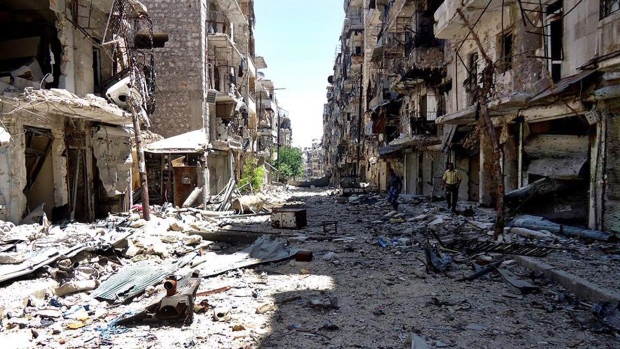
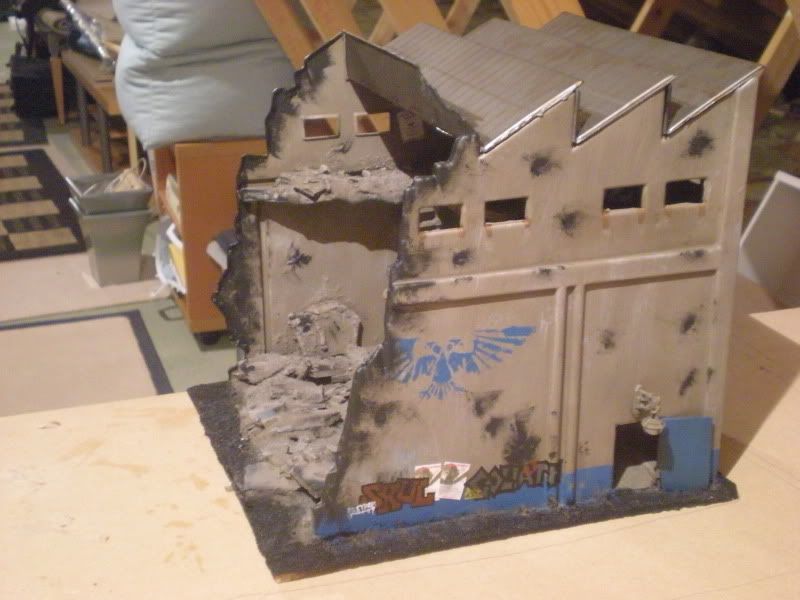
Following are some reference shots for building damage. Some more than others, including an image of the street covered in rubble.


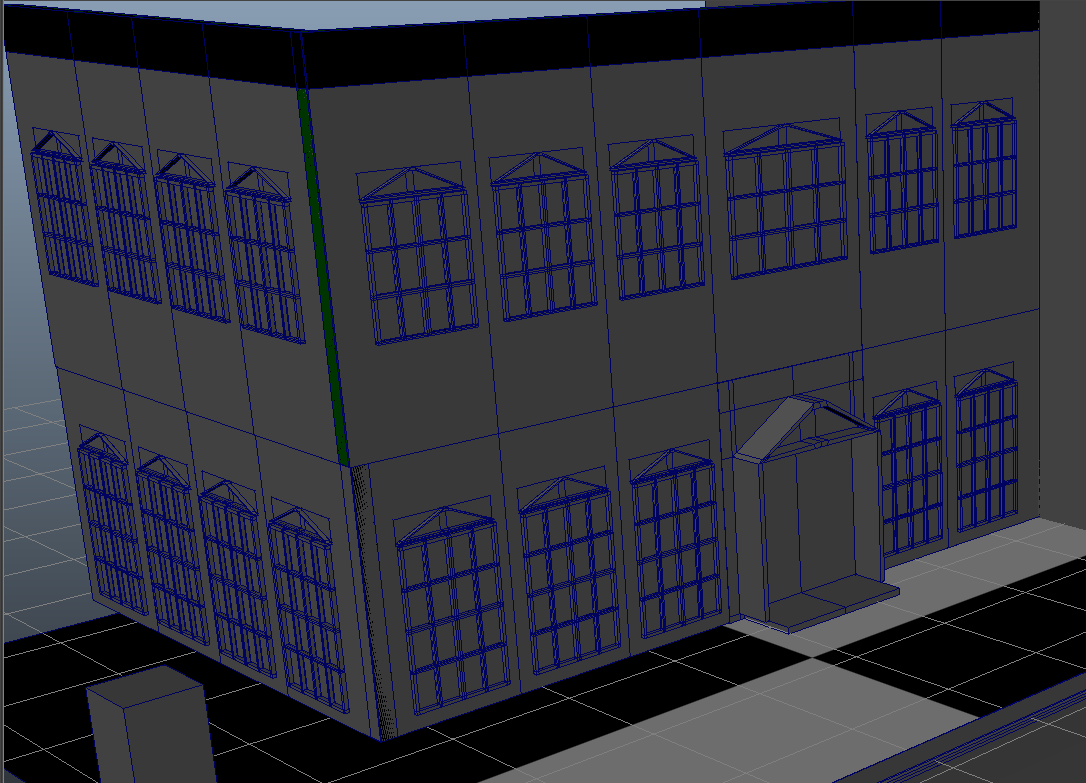
Following: Detailing the buildings. I documented the process for building the fronts of the buildings in video. I tried not to make them tutorial videos.
https://www.youtube.com/watch?v=I5IXo_2fQ24
https://www.youtube.com/watch?v=G5EZHYx1B-0
https://www.youtube.com/watch?v=YPLeNz-WK-E
Moving on from here, I need to make a doorway and edit the window I've made to make further floors. I explain how I would do this in the last video. Also, I would have to add some bevels for when I add the lighting. The bevels would stop things from looking overly sharp.
This technique I will use to create the styles for other buildings. I'd like to make some shop fronts, too as this would give the street some variance in it's buildings.
UPDATE:
The blocking in cube has been removed and the visible faces of the first building are in place. My tutor, Amrinder said that I'd be able to get away with using this design for most of the the street, as modelling is not my main focus for this project. I've kept the pyramid arch for the door to tie it into the rest of the building.
UPDATE:
Took a step back from the above screenshot to fix a couple things and will make a different door front. I've begun texturing the building.

The blue tint is a cinematic night shot. Cinematic night is a blue tone, as true night would make it impossible to see what was going on.

I added bump and spec maps to the walls, but I wasn't happy with the bump.

More edits to the bump map

And a final edit.

I was unhappy with all of the bump maps, so went without one, which gave it an almost marble look. With the Phong material setting to allow spec maps to be applied, it gives a nice, subtle shine

Showing the difference between angles from the light.

Then adding the windowframe texture. This is simply a white phong.
No comments:
Post a Comment