In the interest of convenience , I'm putting all the challenges into this one post.
WEEK 1
3D Graphics - 3DS Max has a selection of shapes available, from the Teapot to the Cube, they are all there at your disposal!
Advanced Geometry
Standard Geometry
Graphics and Design - Character Design, using a mixture of human and animal characteristics. But also, mixing two animals together.
As always, the Gull comes into play (it is the CMANIM trademark, after all), mixed with Human traits. The top-middle image has muscle structure to show how the face would be structured. Also, the skull structure of a Gull beside it.
Underneath has the profile view, the eyes are very human in shape, but larger and more central to the side of the head.
A mixture of an Ant and a Cat created a hybrid/bastardisation of science, I call "The Cant". The eyes have been replaced by antennae and the whiskers more akin to mandibles.
Video Concepts - We were tasked with Storyboarding and filming a journey to the Student Hub.
A section of the film, just a small piece to make uploading faster, plus, the quality is poor.
WEEK 2 - 3D graphics
Creating a CD player to texture. We had graphics to add to the model, but I was unable to get it to work. This is a problem I am only just getting past (see the Hoverboard post)
Graphics & Design
COSTUME DESIGN
A male design of a Law Enforcer with a Bionic arm. This particular task was creating a costume with a very strong silhouette. The shoulder pads/trenchcoat and Bionic arm give that effect.
A female law enforcer in riot gear. Beside the character, diagrams of the riot shield showing the handles and alternate helmets, plus the Precinct logo.

Using photos of cyberpunk police officers, I looked at common features and made a list of them. These were used to design the above character.
VIDEO CONCEPTS
Using a lamp post and some editing, the group created a simple, yet fun, effect!
WEEK 3
3D Graphics
Texturing using Diffuse/Bump/Speculation maps.
I was genuinely impressed with how this came out, especially because the viewport image is just a plane. All the detail is added through the material editor.
Graphics and design
Vehicle design.
We were given the brief of making a space craft for exploration. I used the Jaguar XJ220 as a heavy inspiration.
The car itself is very futuristic in shape, but it still just looked like a car.
Taking the roof shape of the Jaguar, I redesigned the bottom of the craft. I added Gravity boosters and recon items on the rear. The underneath has heat shielding (like NASA space shuttles). It ended up looking very much like the Star Trek Next Generation Goddard shuttle.
Another early inspiration, the Xwing fighter from Star Wars.
Video Concepts
Colour Correction to create a "Sin City" effect, removing all colours except for one. A pretty cool effect!
Week 4
3D Graphics - Set Lightng.
Set lighting! Including a duck!
Spotlighting with shadows enabled
Graphics and Design
Composition
Focusing in on certain areas to create a composition.
Video Concepts
Blue Screen! Cameras! MADNESS!
A fight scene between James (www.foreverrendering.wordpress.com) having a fight.
Week 5
3D Graphics -Depth Of Field/Motion Blur
The shape contains a Motion Blur. The effect was done completely within 3DS Max
Mid Depth Of Field
Far Depth Of Field
Near Depth Of Field
Graphics and Design - Image Composition!
Week 6
3D Graphics
Adding video to a TV in 3Ds Max
A glass (soon to be filled with ice and Whiskey), carrying on the staged lighting.
Graphics and Design
Contrasting colours, complimentary colours.
This gent is wearing complementary coloured clothing! I added depth to the image by using 3 tones of colour. Highlight, main colour, shadow.
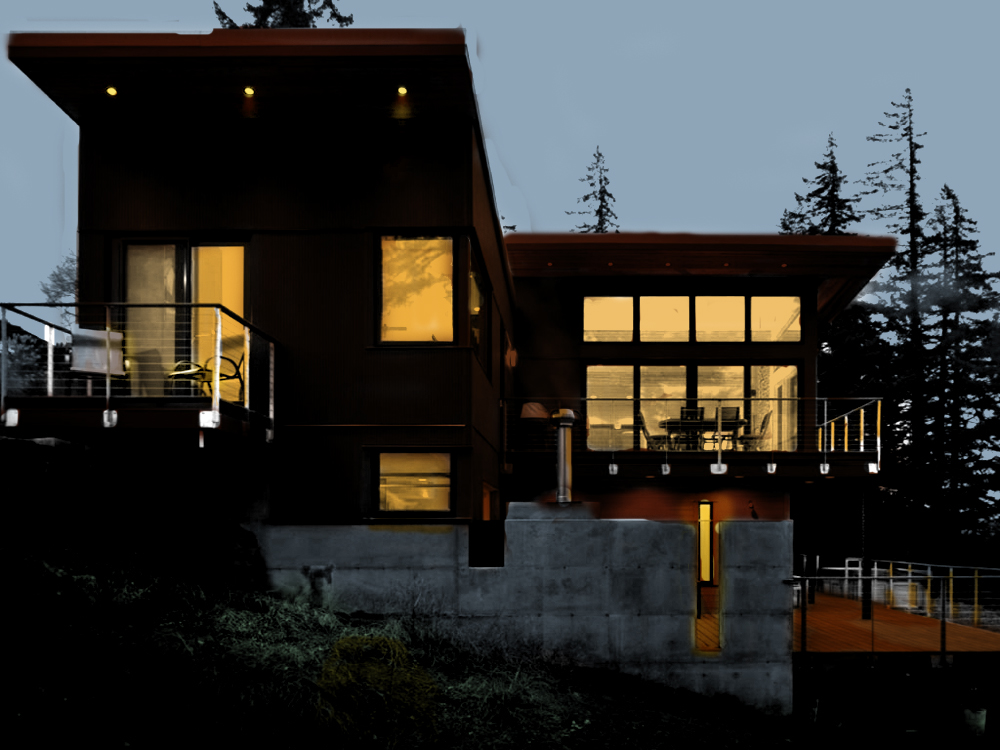
Using the Photoshop Blend Modes, I coloured the images (which where black and white). The top image I made to convey warmth, everything involved with the house is a warm shade, reds/browns and yellows. While the outer walls and grass and sky are colder tones. The bottom image is mainly cold, the heat shown from the windows, with some splash light on the ground.


 Using photos of cyberpunk police officers, I looked at common features and made a list of them. These were used to design the above character.